Making a User Inactive
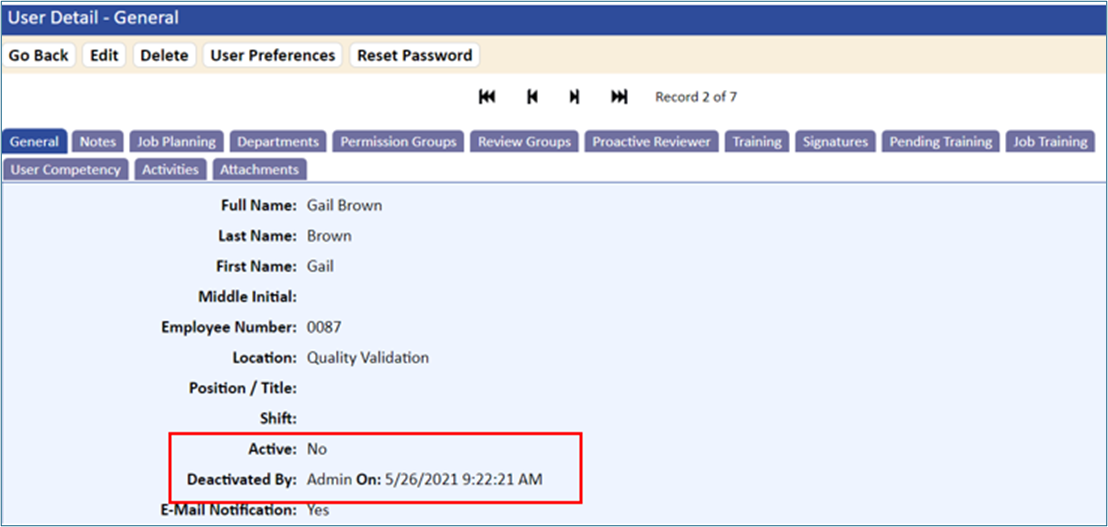
When a user is no longer valid, designating them inactive will retain training information but remove them from training reports and standard search functions unless you specifically include inactive users. If a user is made inactive, the General tab for their record will indicate the individual responsible for the change in status, with a date and time stamp.
To make a user inactive:
- In the user’s record, click the Inactivate User link on the General tab.
If the user has current activities, or is a member of review groups, a warning displays allowing you to Continue or to Cancel the inactivate function.
You are prompted with the following message:
This user cannot be inactivated until important associations are re-assigned. Do you want to see the re-assignment information?
If you click the Continue link, the User Reassignment page displays with a list of current activities and assignments.
- Click the Continue link.
The following options are available on the User Reassignment page:
- Reassign individual activities by clicking the Edit
 icon.
icon. - Delete activities that are no longer valid by clicking the Delete field, which enters a Delete
 icon in the field. Click the Delete icon to delete the activity. You are prompted to confirm the deletion.
 - Remove the user from associated tables such as Review Groups and Manager of Departments by clicking the relative links.
- Click the Reassign All To link if the activities and associations can all be reassigned to another individual.
- Reassign individual activities by clicking the Edit
- Review the activities and make required adjustments.
- Click the Save/Inactive button.
If you click the Save/Inactive button and there are workflow activities, the system displays the following message:
Unable to inactive this user because of the following associates(s): Workflow Activities.
- If applicable, reassign workflow activities.
- To remove the user from departments, go to the Department tab.
- Remove the Network Logon for the user.
If the user logon is not removed, you will receive the following warning when saving changes to the User record:
Warning: User is set to Inactive but the Network Login is entered. The user will not be able to logon to TMS.
If you need to move inactive users or documents from one location to another, you must first select the inactive flag. Once the inactive users or documents display, click the Go Back button to apply your next search criteria.