Home > Tools & Setup > Setup > Departments >
Adding a New Department
To add a new department:
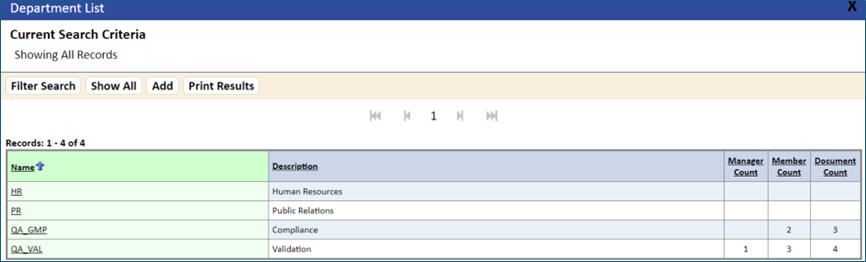
- Click the Departments link.
The Department List page displays.
- Click the Add button.
The New Department page displays.
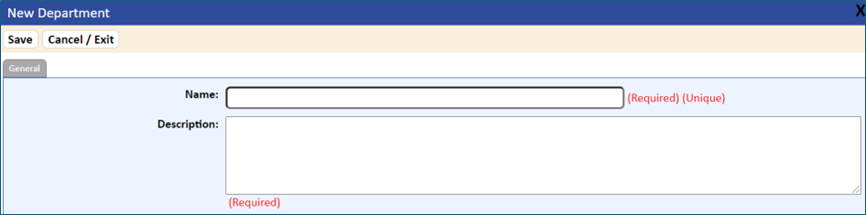
- In the General panel, enter the Name and Description (both fields are Required).
- If using the second level notification for overdue activities, you must create a department with the name starting with “Second Level Notifications.” Individual members and one manager (usually a director level) must be added to this department to send second level notifications. You can have as many second level manager departments as required, and many different departments can be grouped together for notification.
For example: Second Level Notification for Departments QA, Regulatory and QC.
- Click the Save button, then click the Cancel/Exit tab.
- Click the Managers tab and add the manager of the department.
- Click the Members tab.
- Specify each user in the department by selecting the user in the Available Users list and clicking the Add Item button.
The user is added to the Members list.
- You can remove a user from the Members list by selecting the user’s name, then clicking the Delete Item button.
- To add documents, click the Documents tab and then click the Edit button.
Add documents using the Search Items or Load Items buttons.
NOTE: If the documents you add belong to another department, they will be reassigned to the new department. A document can be assigned to only one department.
- To save the new department, click the Save button.
The department is added to the Department List.
- To print the list of departments, click the Print Results tab.
NOTE: All users must be assigned to a department to include the individual in training reports.