Creating the Master Question List
For a question to be added to a quiz, you must first add it to the pool of questions in the Master Question List. When adding a question to the list, each question must be assigned to either a job or a document. A question can be assigned to multiple jobs or documents but it is not recommended.
Note the following important details about questions:
- Once a question is used in a quiz, it cannot be deleted.
- A question can be changed or made inactive after being used.
- A question must be removed from the quiz before it can be inactivated.
- An inactive question must be made active before adding it to a quiz.
To add a question to the Master Question List:
- Click the View All Questions link under the Quiz Module menu option.
The Master Question List page displays.
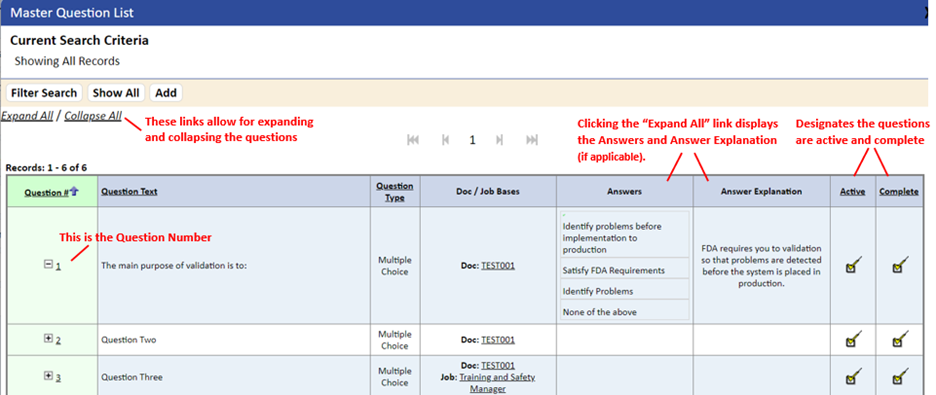
- Click the Add New Question button at the top of the page.
The New Master Question page displays.
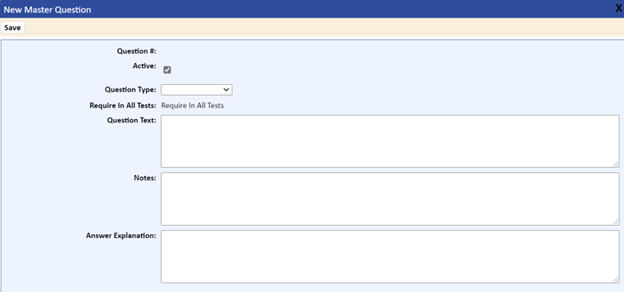
- Select the type of question you would like to use from the Question Type drop-down list:
- Multiple Choice (default). Select this option if you would like to add a question in which multiple answers are provided and the user selects ONE answer only.
- True/False. Select this option if the answer is True/False.
- Fill Blank. Select this option if the user is required to respond by typing the answer. Answers are limited to 250 characters.
- Use the Question Text field to add a new question, which can be up to 2,000 characters long.
- If applicable, use the Notes box to further explain the quiz question or how the answer should be entered.
For example, if the answer for a fill-in-the-blank question requires the individual to enter a date, you may want to include a note saying, “Please enter the date as mm/dd/yy.”
- You can use the Answer Explanation box to provide a detailed explanation for correct and incorrect answer choices to quiz questions.
This information displays in the Quiz Summary Report after the user takes the quiz, if that option is selected when creating the quiz. (For more information, refer to Adding a Quiz).
- Click the Save button to save the question and display the Answer Choices section of the page for adding possible answers to the question.
- Click the Add New Answer link to enter the answer options for Multiple Choice or Fill Blank questions.
- For Multiple Choice questions, there is no limit to the number of answers a question can have.
- For Fill Blank (Fill-in-the-Blank) questions, you would normally enter only one answer.
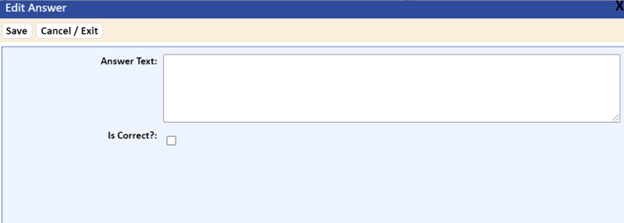
The New Answer box displays for filling in the Answer Text field for each individual answer and the Is Correct? checkbox.
- Use the Answer Text field to individually enter each answer you would like to display as an option.
- Use the Is Correct? checkbox to mark and indicate if the answer is correct, or leave it blank if it is an incorrect answer.
- To continue entering individual answers, click the Save/Next button.
To complete and display the entered Answer Choices (see the figure below), click the Cancel/Exit tab.
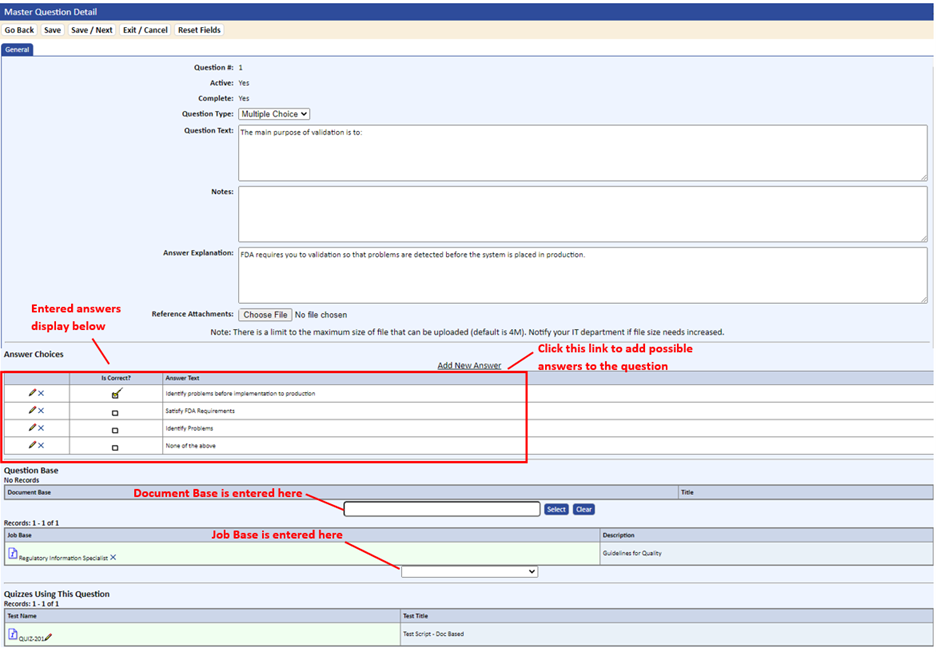
Since only one Answer Choice can be correct, if a question has more than one correct answer, it is preferable to combine the answer. For example: If the correct answer is both Blue and Green, then the Answer Choice would be entered together as one option (i.e., Blue & Green).
- Edit or delete an Answer Choice as needed:
- To edit an answer, click the Edit
 icon.
icon. - To delete an answer, click the Delete
 icon. The following prompt displays:
- To edit an answer, click the Edit
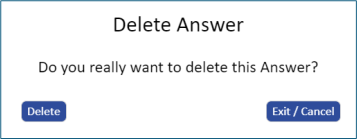
Click the Delete button to remove the answer, or the Exit/Cancel button to return to the editable Answer Choices list.
- After entering all Answer Choices, select the jobs and/or documents to which this question applies from the Question Base section of the page.
- Click the Save/Next button to save the question/answers and go directly to New Master Question page to add additional questions.
- Click the Save button to save the question or the Exit/Cancel button to return to the Master Question Detail page.